Installing the Exchange 2007 Connector
Running the FaxPress Exchange Connector Setup program creates a new Exchange Connector directory in your Exchange Server’s Castelle directory, copies the required files to that new directory, and adds the Exchange Connector service.
Make sure you’ve reviewed the Network Requirements and completed the Email Gateway preparation and setup/Installation before running the Exchange Connector setup.
Assigning an Administrator Account
The Exchange 2007 Connector requires an account with full administrator privileges to use in logging onto the Exchange 2007server. You can either use the Exchange Connector workstation’s default administrator account or you can create or dedicate an Exchange account for the Exchange Connector’s use.
Whatever account is used by the Exchange Connector must have Administrator privileges and access to launch permissions for all relevant applications, DLLs and files. Assigning an Administrator Account
If you decide to create an administrator account specifically for the Connector, make sure you log on to the workstation at least once. Logging on initializes the HKEY_CURRENT_USER registry keys and printer entries. You may also want to send and receive a test email to confirm the account is fully functional.
This administrator-privileged account should be assigned before you run the installation. In Exchange 2007, you can create this administrator account after the setup.
To install the Exchange Connector from the Castelle FaxPress Plus 5.0 CD onto an Exchange 2007 server, follow these steps:
| 1. | Log on with administrator or equivalent privileges. |
| 2. | Place the Castelle FaxPress Plus 5.0 CD-ROM in your drive. The Castelle FaxPress Setup screen will launch automatically. If Autorun is disabled on your machine, and setup does not launch automatically, select Start>Run, then type CD-Drive-Letter:\AUTORUN.EXE and click OK. |
| 3. | In the FaxPress Setup screen, click Next>. |
| 4. | In the first Select Components screen, select the Administrator Installation will install button. |
| 5. | Select Email Gateways & Connectors. |
| 6. | In the FaxPress Add On Products screen, select Next>. |
| 7. | In the next Select Components screen, select FaxPress Plus Exchange Connector. |
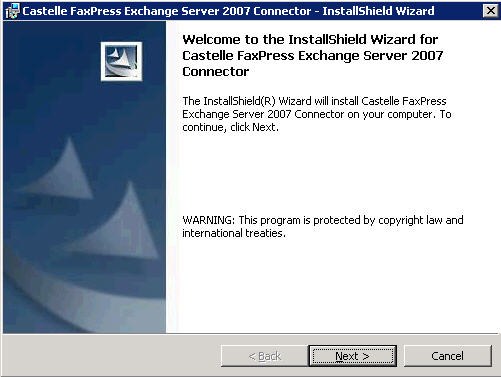
| 8. | The first screen of the Exchange Connector Installation is display. Press Next>. |

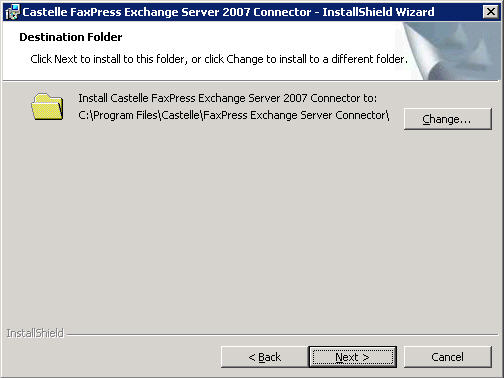
| 9. | Select the installation directory. Press Change... if you wish to change the default installation directory. |
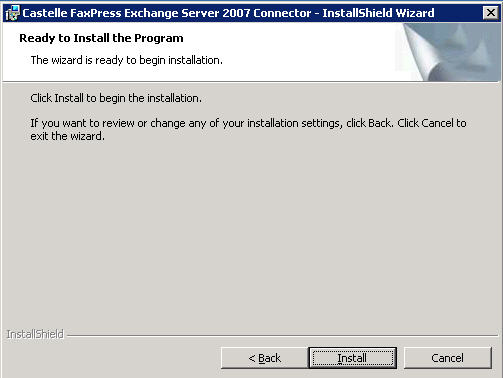
| 10. | Press Install to begin installation. |
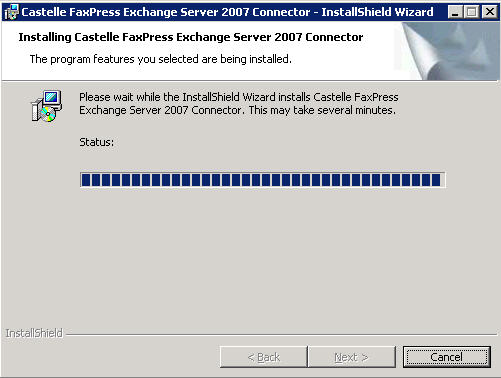
| 11. | The installation progress is displayed. |
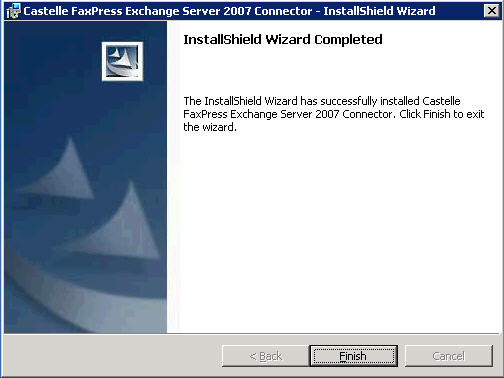
| 12. | Press Finish to complete the installation. |
Configuring the Exchange 2007 Connector
Configuring the Exchange 2007 Connector is simple. Once a FaxPress Plus server is up and running on the network, discovery of the Email Gateway on the FaxPress Plus server is automatic.
To connect the Exchange 2007 connector to the FaxPress Plus Email Gateway:
| 1. | Go to Start>All Programs>Administrative Tools>FaxPress Exchange Server Connector. |
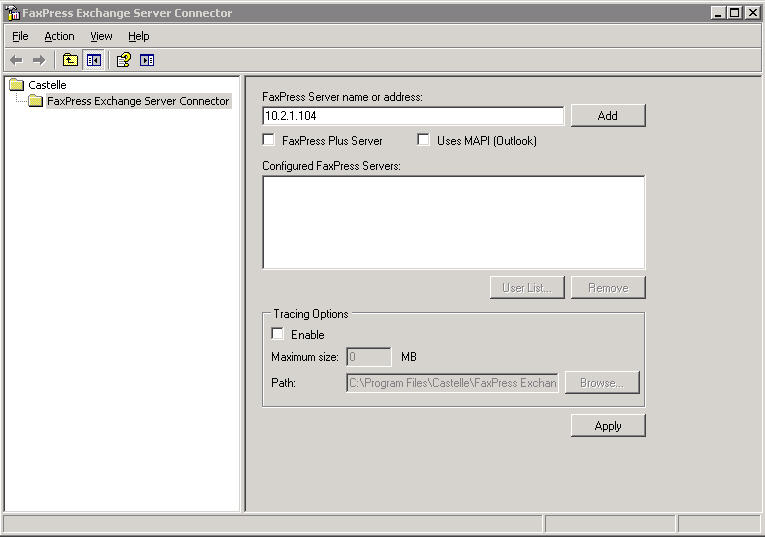
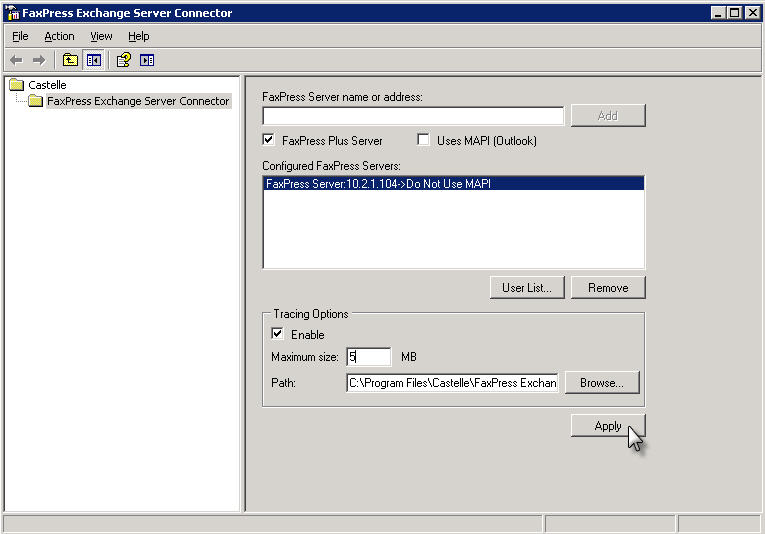
| 2. | The FaxPress Exchange Server Connector dialog box is displayed. In the FaxPress Server name or address field, enter the IP address of the FaxPress Plus server with Email Gateways service running. |
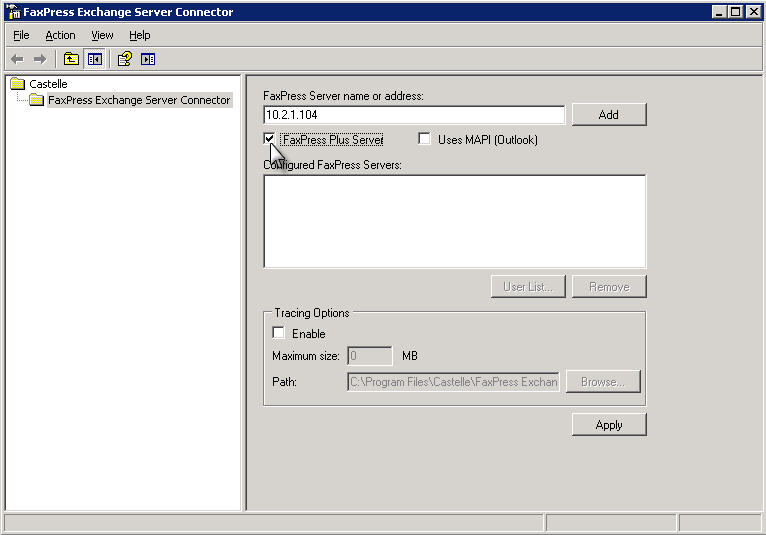
| 3. | Select the FaxPress Plus Server checkbox. |
| 4. | Press Add. |
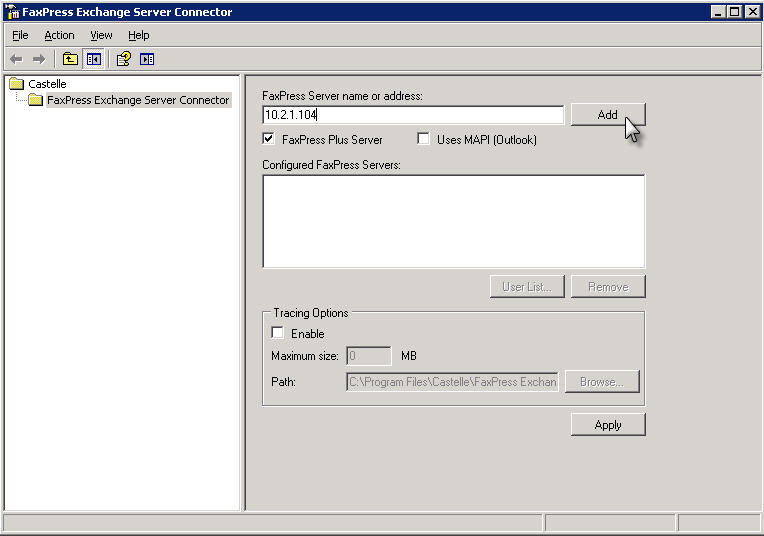
| 5. | The FaxPress Plus Server information appears in the Configured FaxPress Servers list. Press User List... to add users and/or groups. |
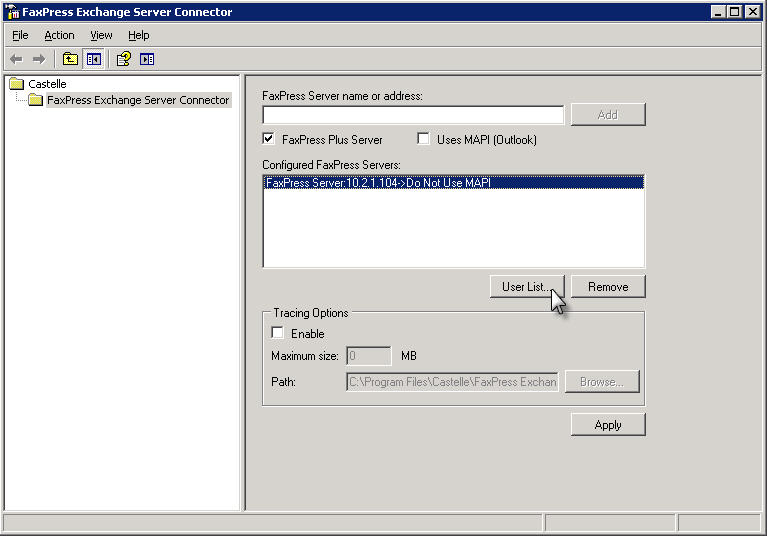
| 6. | The User List dialog is displayed. Press Add User... |
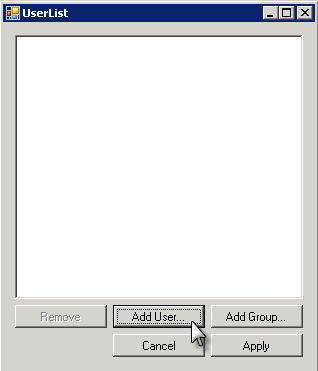
| 7. | The list of users from the FaxPress Plus server is displayed. Select a user with Administrator-level rights, then press Add. |
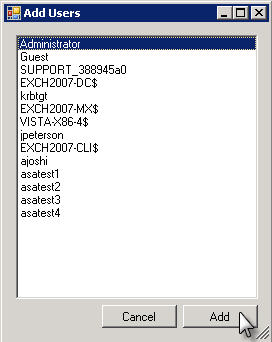
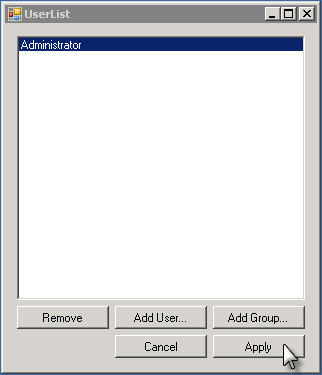
| 8. | The newly added user is displayed in the User List dialog. If you have any FaxPress Plus groups that you would like to add at this time, press Add Group... Otherwise, press Apply. |
| 9. | If you wish to enable tracing options for the Exchange Connector, click the Enable checkbox in the Tracing Options section. Select a maximum tracing log file size and its location using the Browse... button. Once you are finished, press Apply. |
| FaxPress Premier WebHelp Version: 1.1 P/N: 61-1326-001 |
Castelle 855 Jarvis Drive, Suite 100 Morgan Hill, CA 95037 Toll-free 800.289.7555 Tel 408.852.8000 Fax 408.852.8100 |